Discover The Outlast Trials Best Tips for Beginners diving into the thrilling world. Uncover survival strategies, stealth techniques, and expert insights
| Release Date | May 18, 2023 |
| Platform | Windows, PlayStation 4, Xbox One, Xbox Series X/S, and PlayStation 5. |
| Developer | Red Barrels |
| Steam Rating | 9/10 |
| IGN Rating | 7/10 |
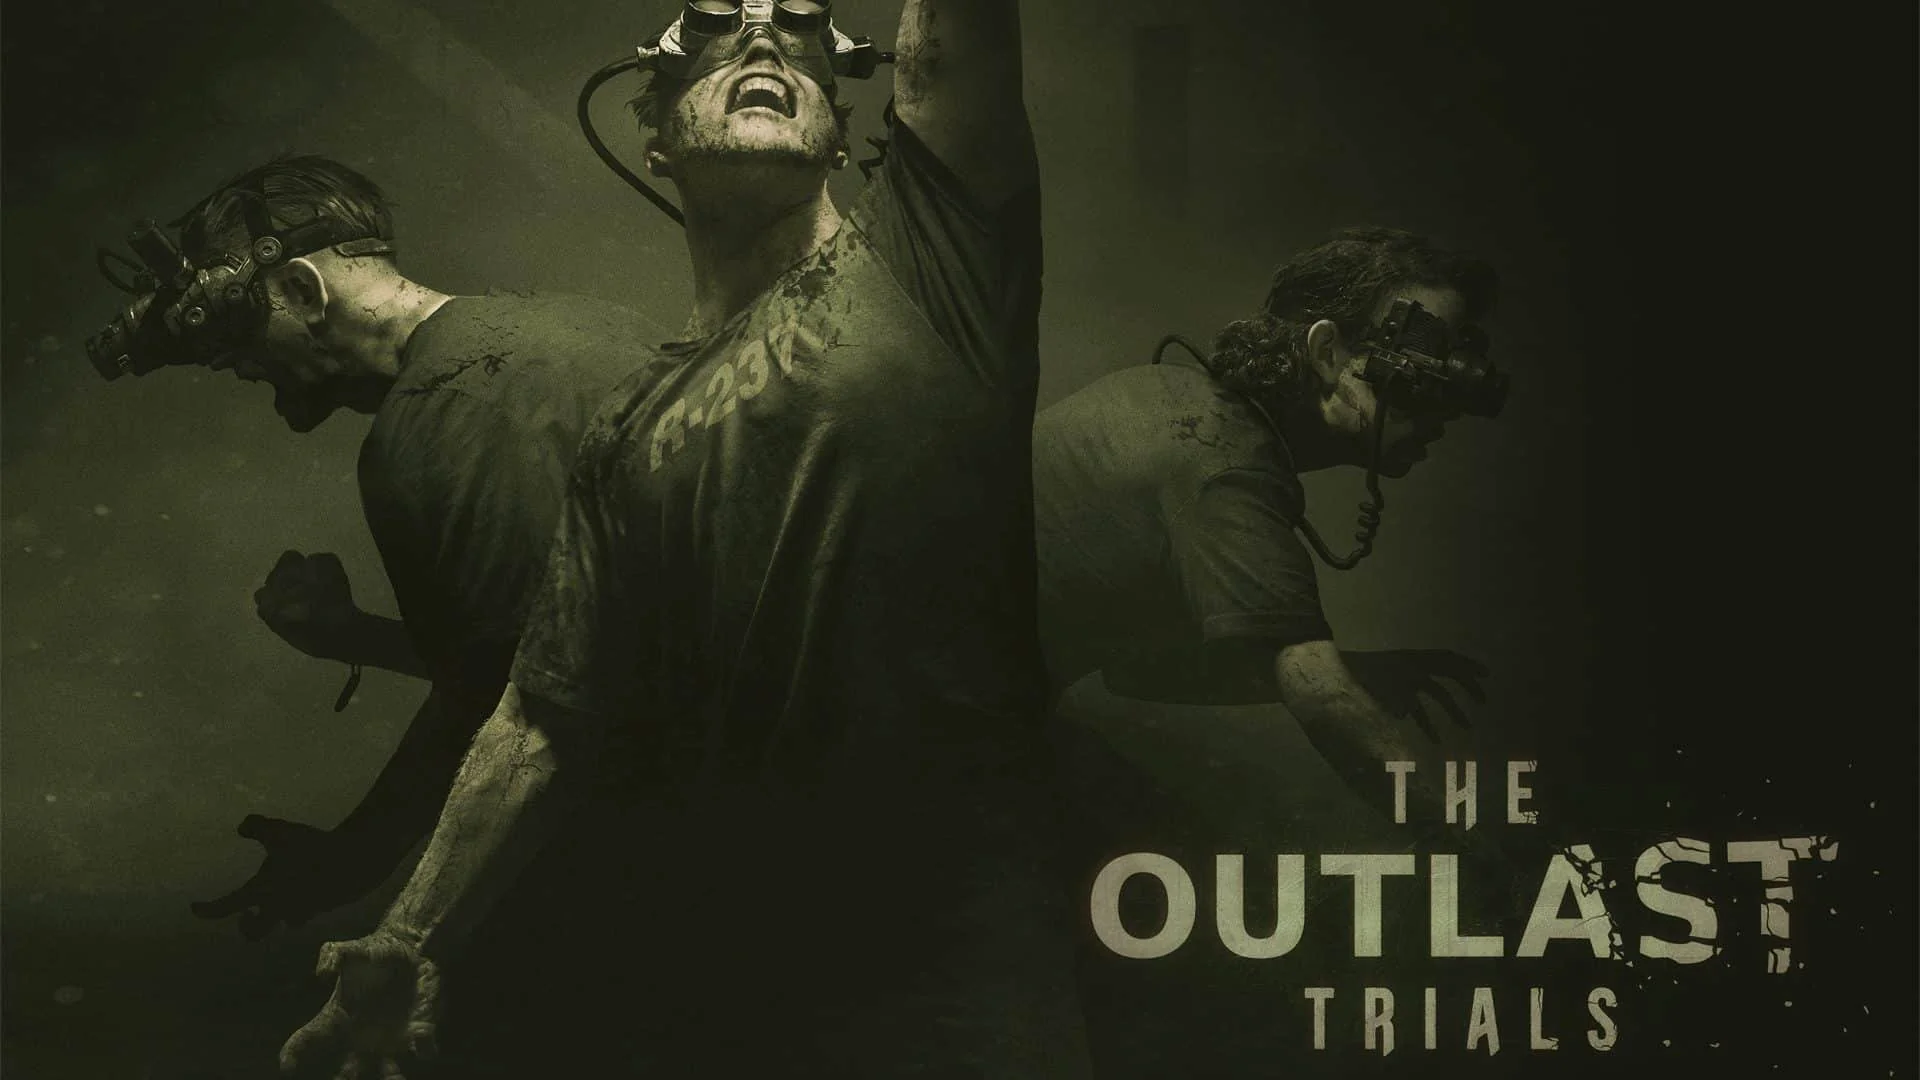
Red Barrels, creators of the critically acclaimed Outlast and Outlast 2, has released a new horror game called The Outlast Trials. Despite switching from the singleplayer experience of its predecessors to online cooperative play, its most recent installment yet manages to evoke the same sense of suspense and terror.
As a reagent or test subject, your objective is to pass the experiments that the Murkoff Corporation is conducting. The player is taken through terrifying experiences full with unsettling visuals and insane residents as part of the mysterious group’s Project MKUltra research, which involves illicit drug, hallucinogen, and mind control experiments. These challenges can be completed alone or in groups of up to four people.
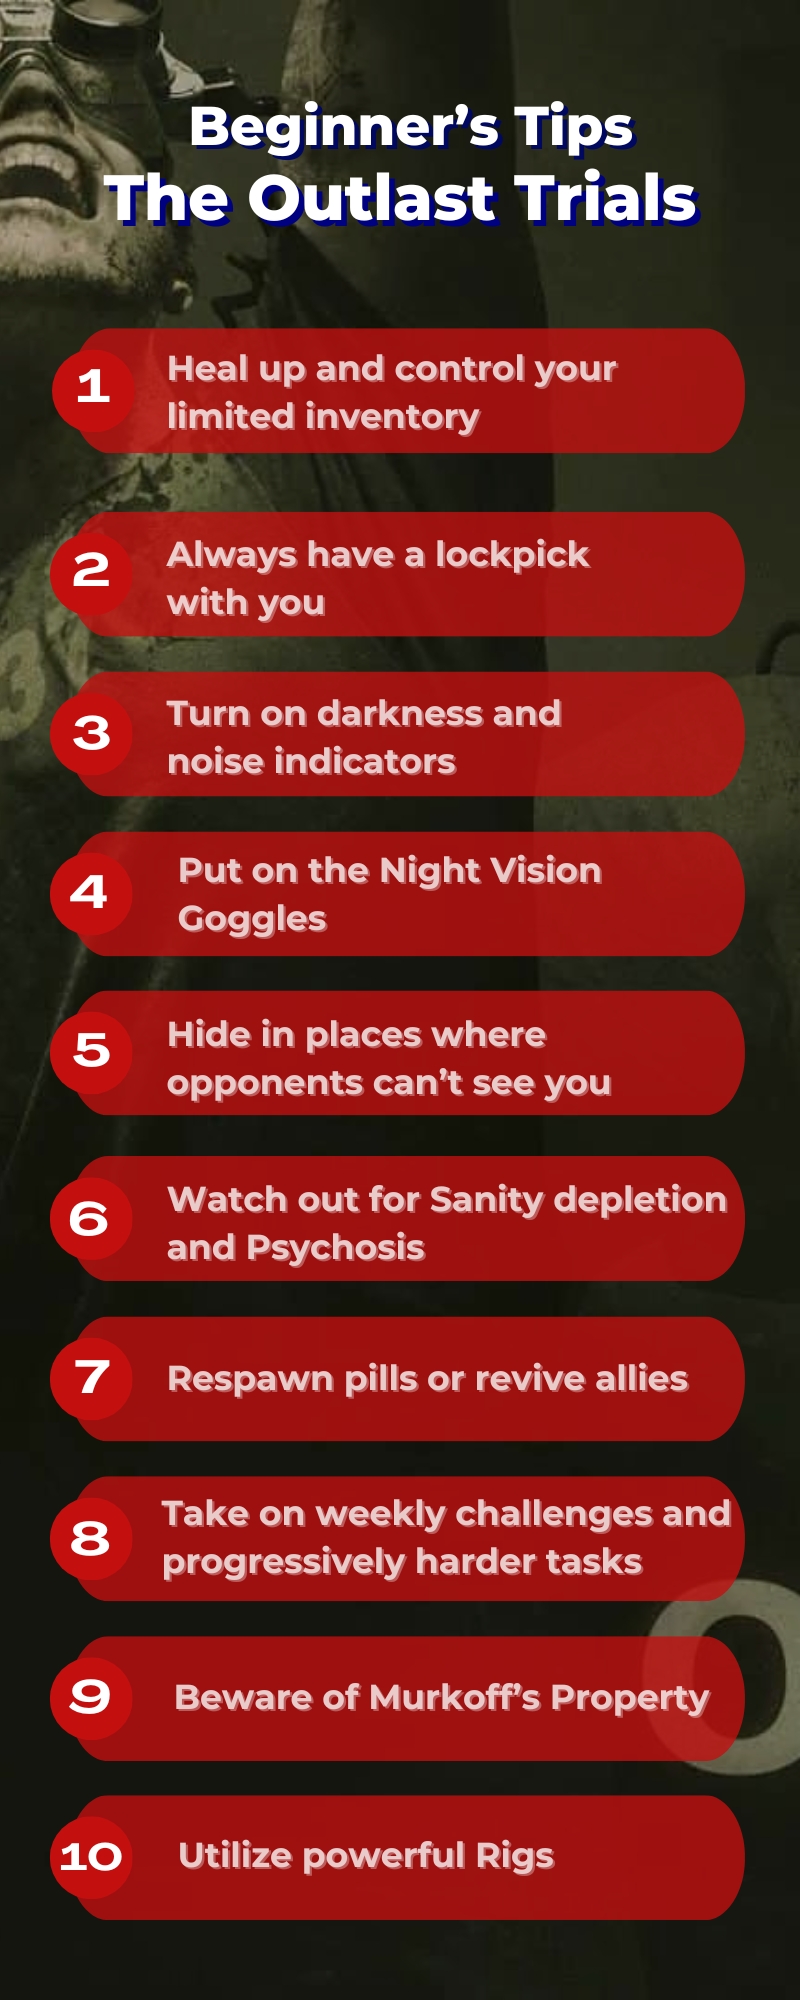
It can be a little confusing to dive right into The Outlast Trials, so let’s go over some The Outlast Trials Best Tips for Beginners to make the experience better for newcomers. You can survive your runs with the help of our The Outlast Trials Best Tips for Beginners, so don’t worry.
The Outlast Trials Tips- Heal up and control your limited inventory
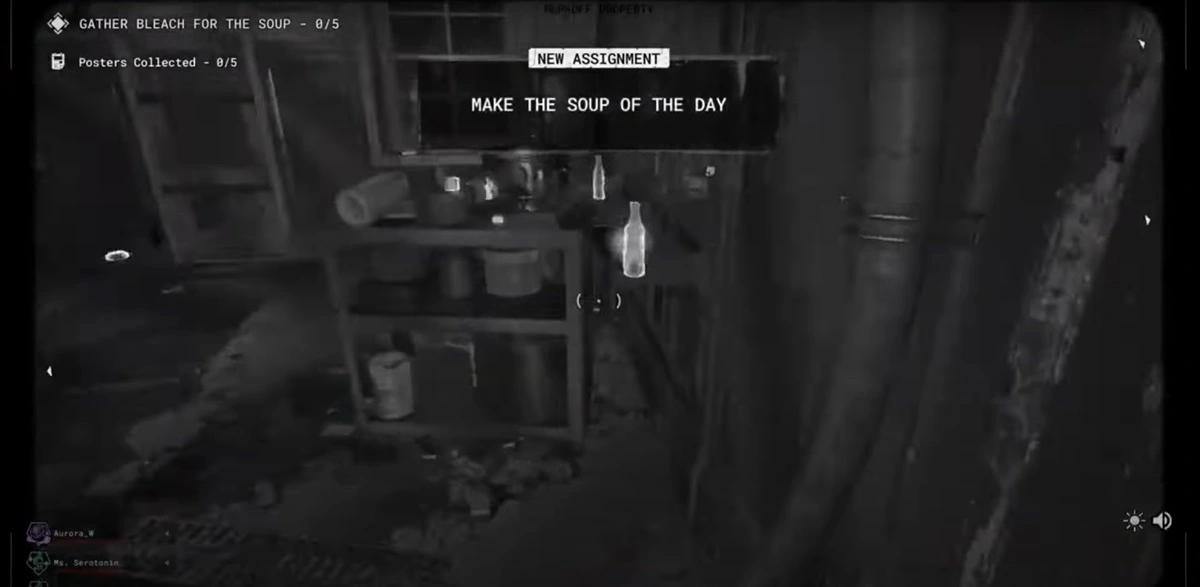
First in our list in The Outlast Trials best tips for beginners is heal up and control your limited inventory. There are just three things that you can pick up and carry in your inventory by default in The Outlast Trials. You must use one of the three items you now have on you or replace it with another item you might need.
Medicine is one item that is quite helpful; it is available in both tiny and large health bottles. Keeping a bottle of medicine on you at all times is a good idea because of the damage that traps and opponents can do to you. When you’re almost done with a level, you definitely don’t want your character to lose all abilities.
The Outlast Trials Tips- Always have a lockpick with you
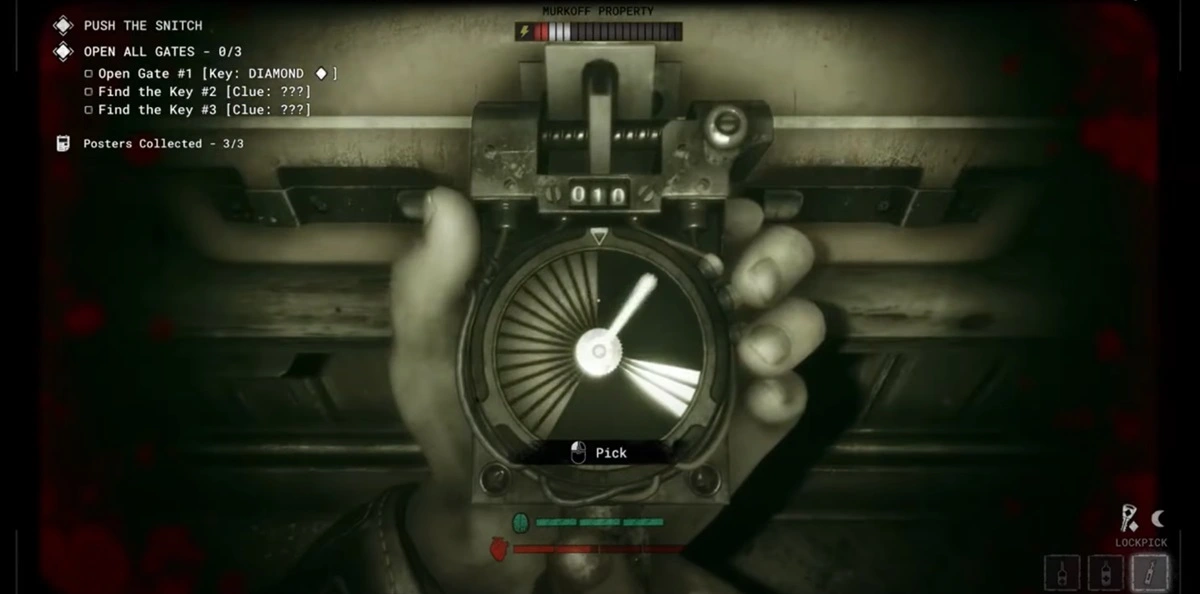
An additional useful tool is the lockpick. The Outlast Trials levels all frequently have multiple locked containers. Usually, there are a variety of consumables and boosters that can extend your life inside.
A rotating dial will display when you use the Lockpick in front of a container to start the lockpicking minigame. The objective is to click the left mouse button every time the dial reaches the green section. It must also be completed effectively and within the allotted time.
The Outlast Trials Tips- Turn on the settings for the darkness and noise indicators
We recommend turning on a few crucial settings found on the General settings tab:
Noise Indicator: If you knock doors, step on shattered glass, or produce other loud noises, a reticle filled with sound waves will appear.
Darkness Indicator: The relevant icon is visible in your screen’s lower-right corner. A moon icon indicates that you are concealed in the shadows, while a sun icon indicates that you are in a well-lit location.
Enabling these settings, however optional, will assist you in determining whether you’re doing anything that could attract the attention of adversaries. For example, you may find yourself in a dimly lit area, thinking you’re securely hidden, only to find that you’re still easily visible to hostile.
The Outlast Trials Tips- For nighttime navigation, put on the Night Vision Goggles
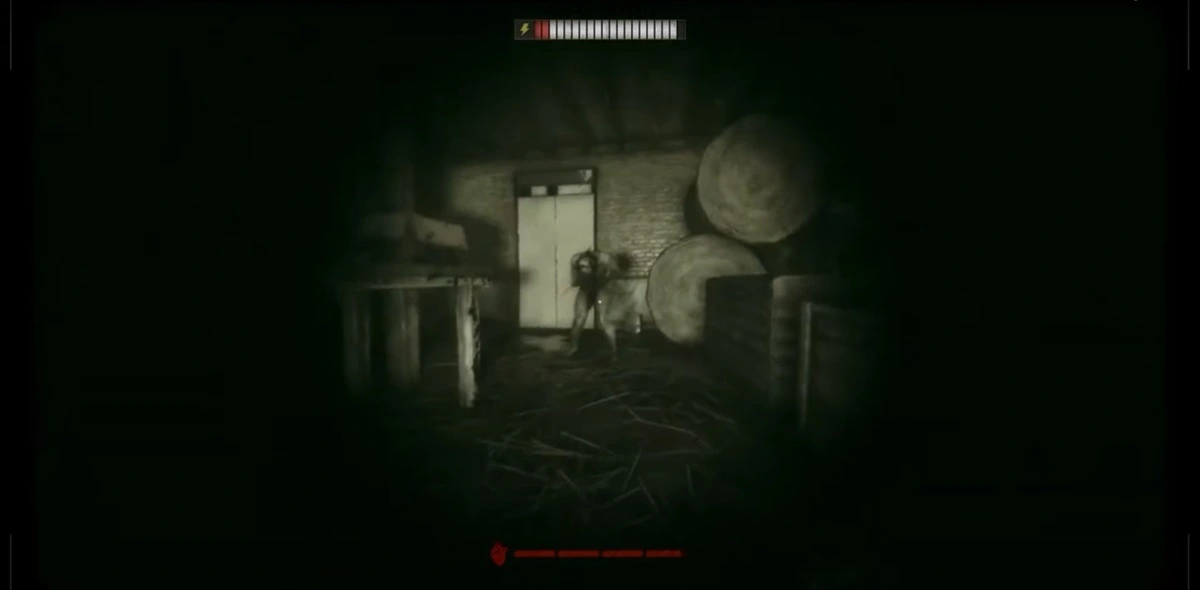
Your ally in The Outlast Trials is darkness. Enemies, often referred to as Experimental Populations, or Ex-Pops, will pursue you right away if they spot you. But if you can locate a place that’s completely dark, there’s a chance they won’t be able to see you.
The issue is that darkness also conceals a number of hazards, such as damaging electrocution traps, shattered glass, noisy sirens, and noisy tin cans. When the insane and eerie locals hear the commotion, they’ll go check it out.
Your Night Vision Goggles come in handy in this situation. This device allows you to plainly see obstacles, traps, and adversaries in the dark. To activate it, use the ‘F’ key. To recharge it, though, you’ll have to keep consuming Battery-related goods.
Hide in places where opponents can’t see you
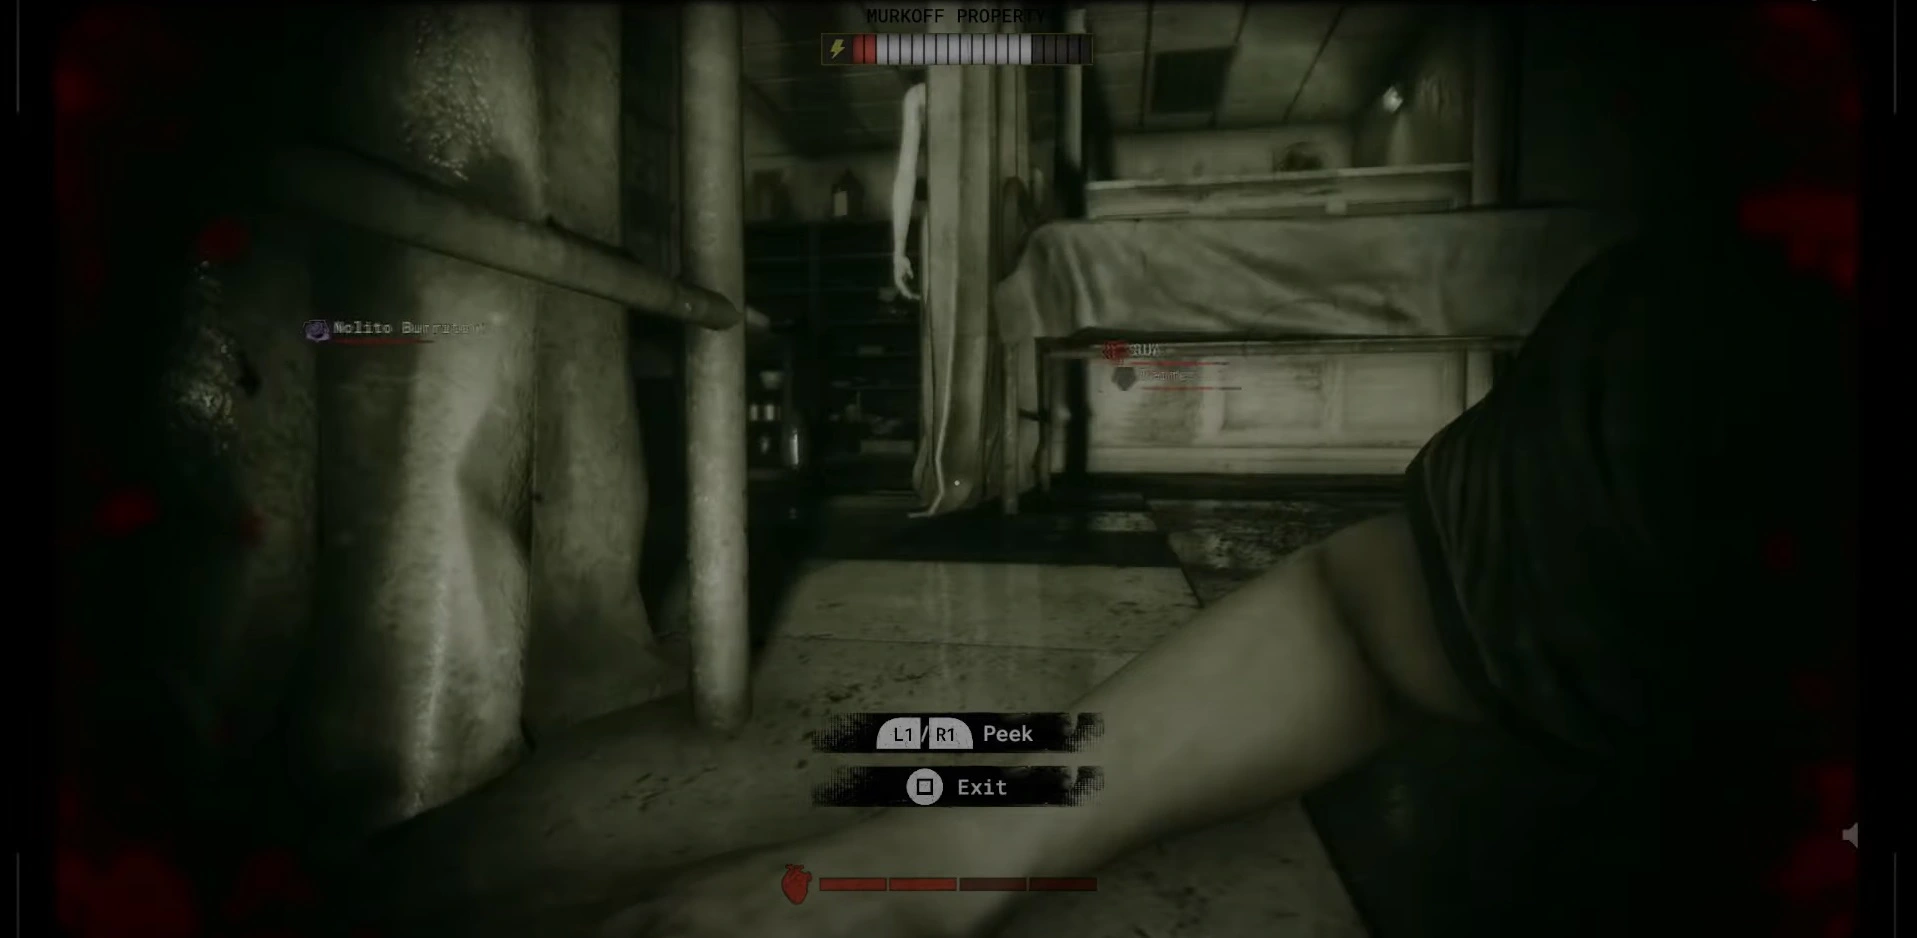
In The Outlast Trials, you can briefly shock opponents by hurling bottles or bricks at their heads or by employing specific rigs. In order to divert opponents, you can also hurl these items towards your surroundings.
Regretfully, you won’t be able to engage in regular combat with adversaries, and you most definitely can’t hold your ground against them for an extended amount of time. Therefore, your only option is to flee and hide.
There are lots of hiding places in levels, such as desks, lockers, car trunks, and other containers. If there’s something blocking your Ex-Pop’s line of sight and they’re looking for you, you can always hide. The violent criminals should leave and return to their patrol area in a few seconds. But if you try to conceal and the Ex-Pop can see you clearly, they can easily grab you from your “hiding spot” and deliver damage.
Watch out for Sanity depletion and Psychosis
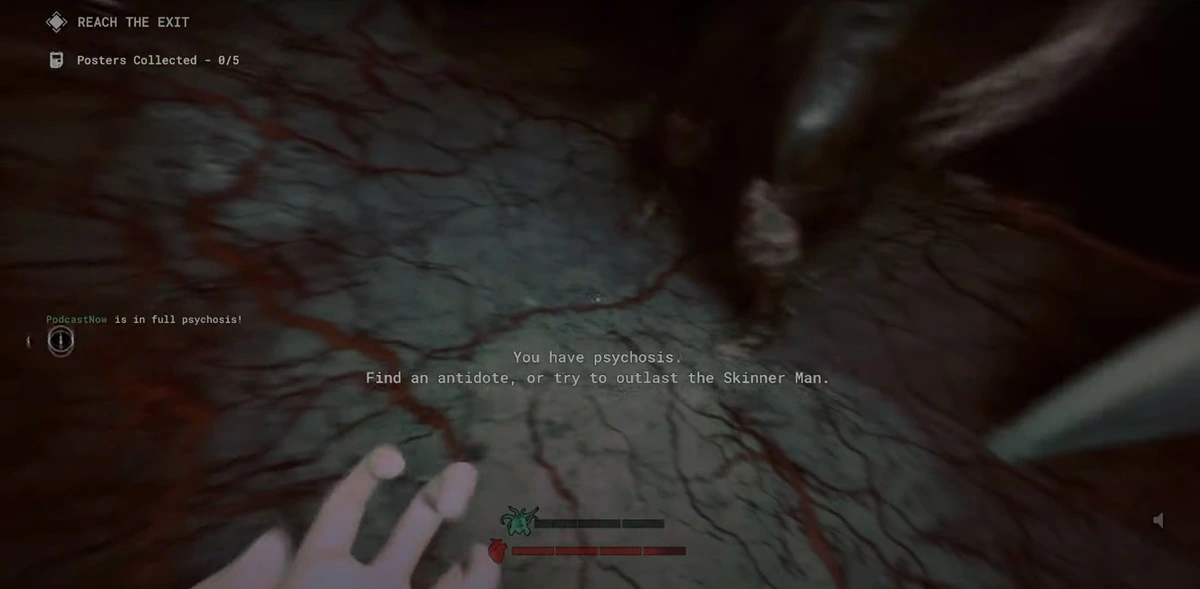
In The Outlast Trials, your character experiences unspeakable horrors and horrifying monstrosities that negatively impact their Sanity meter. Your character’s Sanity is represented by three green bars that progressively drain, which might lead to hallucinations. Most of the time, this produces immersive effects like simulated grogginess or nonexistent adversaries suddenly rushing your position, or jump scares.
But your character will experience psychosis when their sanity is completely gone. The Skinner Man, a revenant that follows your character through several rooms, will then be your enemy to deal with. Your Sanity meter will instantly refill if you withstand its onslaught. To make your character more sane again, you can also utilize the consumable item Antidote.
Respawn pills or revive allies
A character will perish when their health is completely gone. The way you finish the run varies according on whether you’re playing together or alone.
You can only try a trial three times if you’re playing alone, but you can respawn (i.e., get an extra life) if you find and use Respawn Pills within emergency cabinets. In the meantime, cooperative players must locate a Syringe in order to revive fallen comrades. These might also be discovered within glass cases.
Remember the main objectives, even while using procedural creation
Procedural generation is used in The Outlast Trials, but only somewhat. The maps and levels themselves stay the same, but the positions and kinds of adversaries as well as the locked doors and things that can be found on them are altered. As so, even though your strategy or method of navigating each level may differ, you can commit the general goals to memory for each one.
For example, the first trial, “Kill the Snitch,” is set in a police station and always entails getting to the cells, getting the keys to open the gates, and electrocuting the prisoner. The routes to the cells may vary, as may the symbols and locations of each key that needs to be obtained.
As another example, consider the Fun Park setting of the “Grind the Bad Apples” trial. The overall goal is still the same, but you could have to locate other pipe valves or prevail in different amusement park games.
Take on weekly challenges and progressively harder tasks
In The Outlast Trials, completing trials is the main way to advance. You can access the MK-Challenges and other optional objectives for a map by completing its primary trial, which unlocks the next one. In a similar vein, you receive numerous benefits in the form of cash, cosmetics, and experience points (XP).
Afterwards, you will have the option to choose between the missions known as Advanced Therapy and Extreme Therapy, which are much more difficult than the jobs you have previously completed. Weekly Therapy objectives also include unique modifications and other incentives.
Beware of Murkoff’s Property
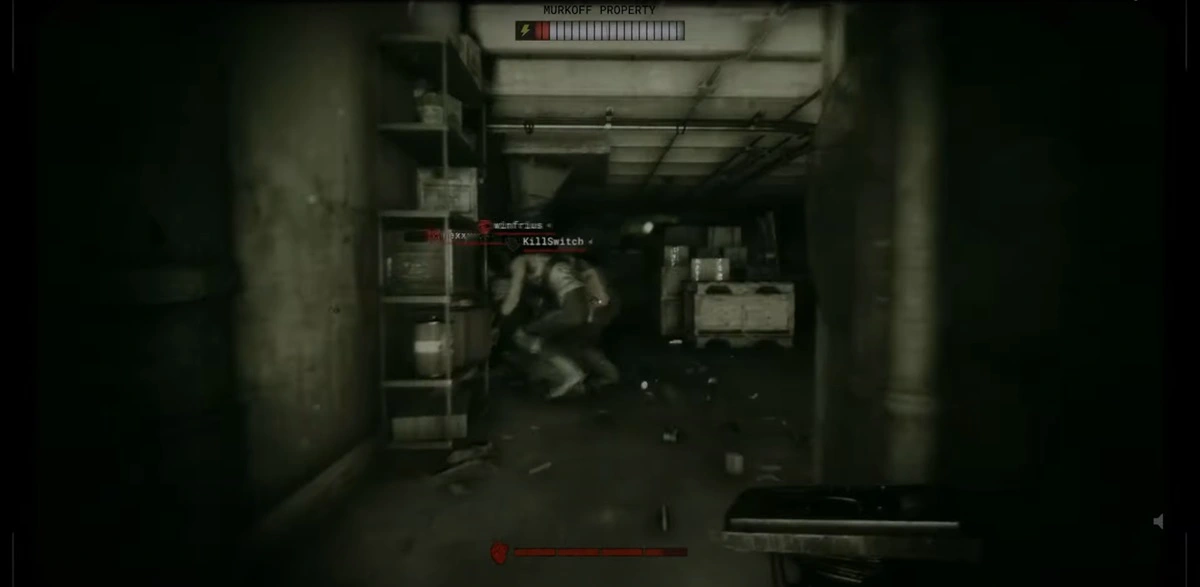
Throughout the trial, you will enter Murkoff’s property at several points. These specific regions cause your gear to malfunction. This is meant to add difficulty to the experiment. You will continue to be impaired until you vacate Murkoff’s property. Additionally, you should watch out for boobytrapped doors during this period. Some doors have been wired by Murkoff to notify opponents if they are opened too soon. Open the doors cautiously or take out the traps close to the entrance to avoid this.
Even door traps exist that discharge spikes that gradually erode your sanity by releasing hallucinogenic substances. The best course of action is to be aware of your surroundings and move cautiously because broken glass on the ground may also expose your location. Disarm a door safely and try to avoid breaking any glass. It could potentially save your life.
Utilize powerful Rigs
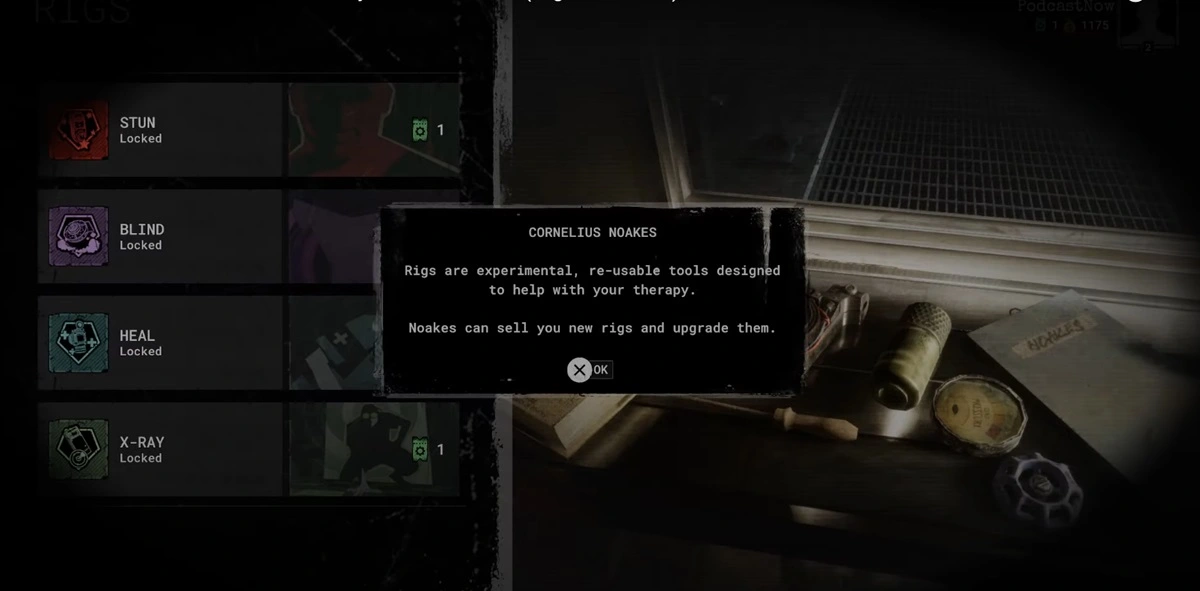
Cornelius Noakes gives you your first Rig after you level up. As long as they are not on cooldown, rigs are abilities that can be employed in missions. Upgrades are another way to improve their effectiveness. Rigs that are available are:
Stun: Sends out a brief electric shock that dazes and disorients adversaries.
Blind: Releases a burst of smoke that momentarily causes blindness.
Heal: Restores your character’s health and that of any nearby allies.
X-Ray: A tactical upgrade that provides wall-piercing vision.
For lone players, we suggest the Blind Rig among these choices. This is mostly because it comes in handy when adversaries are pursuing you.
Blind is a fantastic skill to use in cooperative games when you need to save a friend from an adversary who is close by. In cooperative play, the Heal Rig is an excellent option as well because it allows you to support your team by maintaining everyone in great shape.
Select the right Amps and Prescriptions
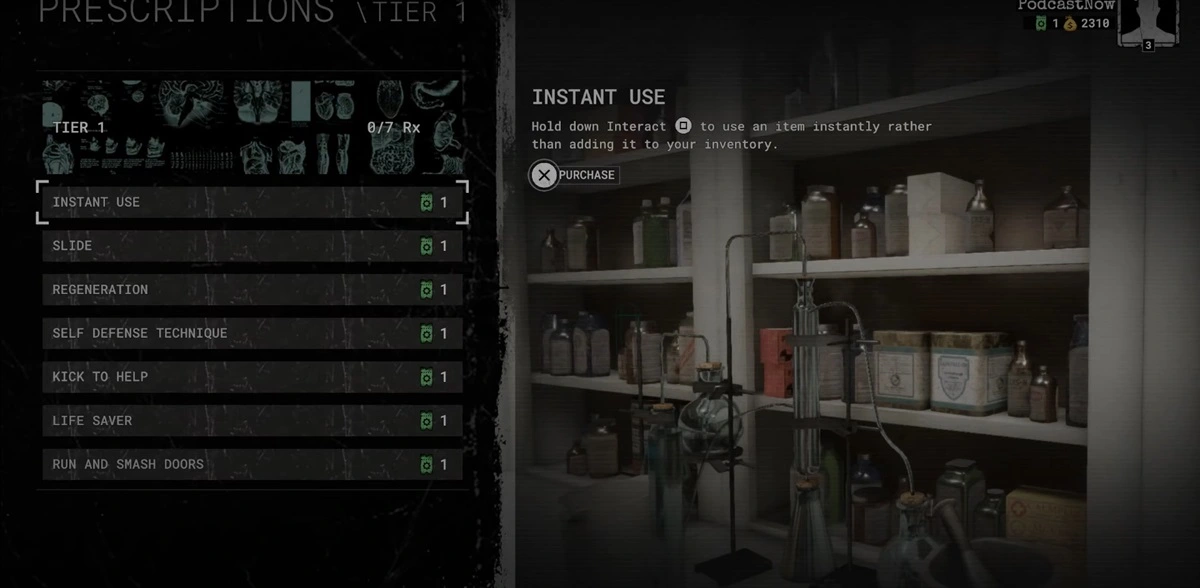
Amps and prescriptions are among the other enhancements that become available as you advance in level. Prescriptions are long-term passive boosts from Nurse Barlow, but Amps are equippable perks acquired from Dorris in the Facility.
The following Amps are suggested for your playthrough:
Noise reduction: Lower the noise you produce while you run or open doors. This is a workable solution that enables you to move about without constantly alerting adversaries.
Antitoxin: Reduce the length of psychosis by half and gradually regain complete sanity. This is a good choice if you don’t want to carry around an extra Antidote or if the sanity consequences are getting to you.
Last Chance: An enemy’s lethal attack reduces you to +1 HP instead. Every five minutes, there is a trigger. This is a true lifesaver, therefore it’s great to have if you want to solo more difficult missions.
Strong Arm: When hurled at an opponent, bricks and bottles have a more powerful punch. Frequently, a hostile entity gets in the way of your efforts to accomplish an aim. You can stun them for longer with this amp.
We suggest prioritizing the following Prescription passives as well:
Self Defense Technique: Allows you to break free from a Pouncer’s hold by using a bottle or block from your inventory. Considering how frequently enemies may entangle you, you’ll want a way to escape away fast, such as hitting them in the head with an object.
Athlete: Raises your endurance threshold. Your endurance is rapidly depleted by sprinting the entire course and destroying obstacles. Therefore, having more of this resource enables you to move about more frequently.
Added an additional inventory slot, or expanded inventory. You can carry one more item thanks to this benefit, which is really useful.
Door Basher: With just two strikes, you can open locked and barred doors. One of the best ways to avoid enemies is to be faster at breaking through doors.
Everything is ready for you! Here is our The Outlast Trials best tips for beginners. With any luck, these The Outlast Trials best tips will enable you to win the game. Check out the Electronic First blog for the latest information about the largest game of the year, including news, updates, and playing tips.
Buy Cheap The Outlast Trials
Look no further than Electronic First if you’re searching for cheap The Outlast Trials. They’re offering a great deals on it
You should check out Electronic First, a reputable online games retailer. So visit Electronic First and take advantage of some fantastic deals on your preferred games! Enjoy your shopping!
Also if you’re interested in earning with Electronic First as soon as today, check out our affiliate program. You can share your link with friends, family or anyone. Sign up today to reap the rewards!


